Facebook is the giant network having billions of users and now facebook is widely used in the world of text messaging as we can also share media, location and lots of stickers that are available for the Facebook messages. As we know when two people chat in facebook messages “Seen by” features automatically resemble whenever one of the partners views the message. Of course! It was an impressive feature as it was added by facebook for better chat experience, but sometimes due to privacy, we want to disable “Seen by” feature. Therefore, we are here with the trick To Disable/Hide Seen On Facebook Chat/Messages. With the help of this trick, now you can easily read the message without showing seen to the sender. Follow the below post to proceed.
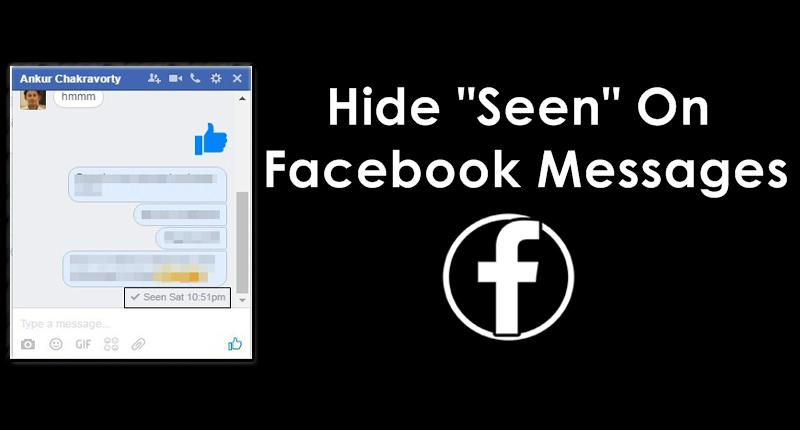
How To Hide “Seen” Feature On Facebook Chat/Messages
This method actually works on PC with the browser extension that will not allow facebook to keep track on read message and you can easily read a message without showing seen to the sender. Just follow up simple steps below.
Step 1. You need to download Social Reviver Google chrome extension and install it on your Chrome browser.

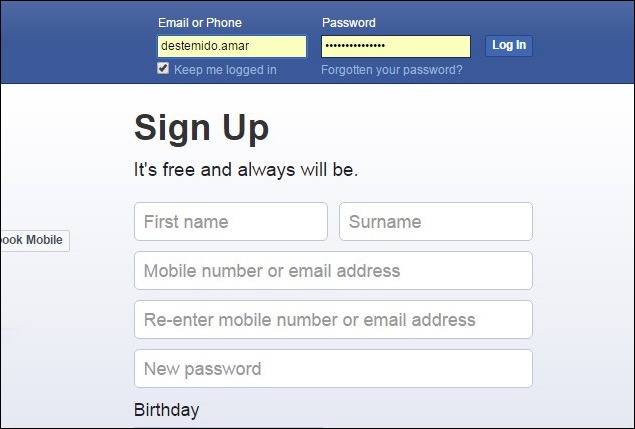
Step 2. Once you install it, you need to restart your browser and open your facebook account.
Step 3. Now you will see old timeline and a complete old facebook interface, you need to click on account settings which is located on the top right of your facebook and select the option of “SocialReviver Settings”
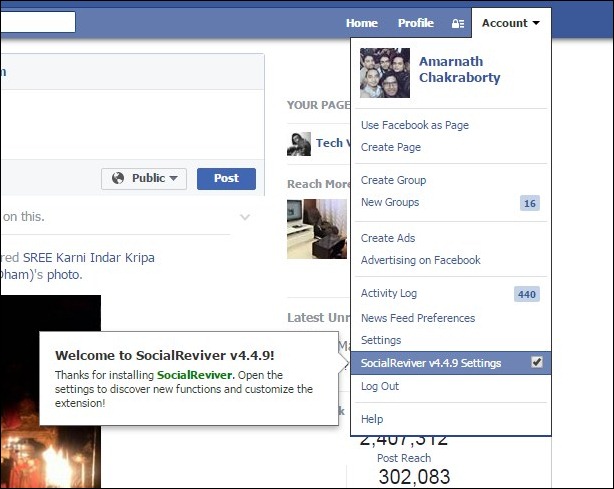
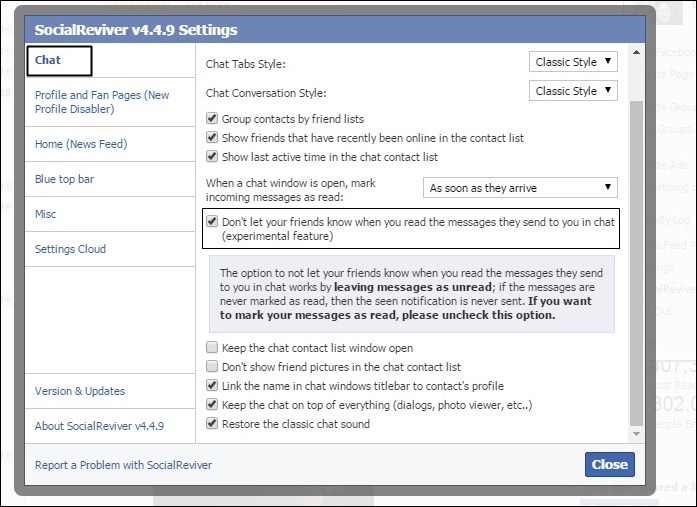
Step 4. Now you will see all the settings, you can change and customize facebook as per your desire. To disable Facebook last seen option you need to select “Chat” and then enable the option ” Don’t let your friends know when you read the messages they send to you in chat”
That’s it! you are done and you have successfully disabled the facebook last seen option from your chats.
So above is all about How To Hide “Seen” Feature On Facebook Chat/Messages. By this method, you can easily read out messages without letting the other person know that you have already read that message. And this method is very easy and simple and works permanently till the extension is being installed in the browser. Hope you like the post, don’t forget to share it with your friends.